All Posts (1994)
Sort by
I'm not really used to this "Ning" thing, and I still have to discover how things work
on here, so I don't know where I need to post a presentation of myself on this forum...
ok, let's try here :D
After a long time at reading and listening to Cigar Box Nation, I finally took
time to register and create a profile on the forum :-)
Little Big One
After I finished my oldest son's CBG , I made this little ditty using the three CBGs that I had built to date. Normally I play a lot of blues but, this one came out.....different.
I'll post some pics of these units later. My youngest son's three string features a wammy bar!
http://skreetch.net/music/Nice%20untitiled%20song.mp3
-Cheers!
First thing, GSU is built for rendering large objects like buildings and towers. Not necessarily small parts like we use, so using GSU for CBGs can be challenging. The zoom you need makes handling the rendering hard as GSU wants to pan or orbit proportionately large.
As well, since GSU is architectural scale, I make a default template so that I am zoomed in to scale and don't have to do that all the time.
Setup 1) I open GSU and create a small rectangle (it helps to anchor the view) at the 0/0/0 axis point, then zoom in so that I can draw a 2"x2" rectangle and actually see it. I remove the larger rectangle that I created earlier too. I change the Units under Model Info to what you see here:
Note the use of Architectural for the inch fractions and the precision on length and angle. I remove the snapping as it's a pain to deal with.
I save the file as a .skp file in 'C:\Program Files\Google\Google SketchUp 7\Resources\en-US\Templates' . This is where the program templates are stored. I then select this as my default template under Window>Preferences>Templates and select the filename of the template I created.
From there, every time I open GSU I am at the correct zoom and template. You can change anything else you need, but these are the biggest ones.
-WY
Didn't know where else to put this link really, has some useful info on it.
I've applied the neck template to my the cookie tin three stringer I'm making for my friend, and I find his tuner interesting, I might build one my self someday. As far as the three stringer goes, I'm just about done with it. Gonna finish fretting it, then assemble it play it a bit then post some pics. I strung one string on it half assed earlier and even without a nut and buzzing on the then too-high finger board it had pretty good sustain and a nice metallic sound.
just completed my first cbg,can any one help on dulcimer fret calculation.
the sizes are nut to bridge 650mm. length of neck from nut to box 420mm,hope somone can help, peter.
Just wanted to let everyone know the tip I read or saw on the site works.
Use a small wooden dowell, drill a couple holes through the neck and the fretboard. I drilled one hole at one end and the other at the other end. Apply glue, smooth it with a card, put them together; then stick the dowells through the holes. I put some glue on the dowells before sticking them in the holes. Apply clamps. Let glue dry, cut off the dowells, and sand. The dowells are great to keep the boards from sliding everywhere. It is a great tip. To whoever I got it from----thanks.
Also need plans to build the neck,I have some idears but still would like your idears also.
Thank you
Ps,sorry for the writing mystakes,I am french,sorry
A custom build jumps over my "centenial" WS # 200....
Wichita Sam # 201
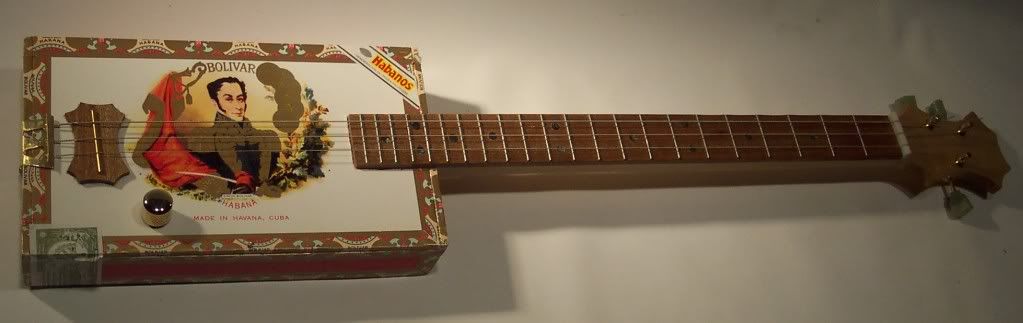
Its a fretted three stringer, fancy headstock, vintage (looking) tuners, maple neck, mahogany fretboard.

Nice little design feature with soundholes in the neck end of the box, a mahogany bridge with brass bar saddle, gold tone volume knob and a hand cut trapeze string termination...
If you want more, click below....
http://s275.photobucket.com/albums/jj317/WichitaSam/Wichita%20Sam%20201/?albumview=slideshow
the best,
Wichita Sam
thanks for lookin
A trip to Radio Shack will get you the piezo and 1/4 inch mono jack. They are in a drawer case towards the back of the store and most stores usually have them in stock. The piezo you are looking for is the 273-073 and costs 2$ and the jacks are #274-255 and are two for 4 You can also pickup a 25 or 30 watt soldering iron and some fine(thin) rosin core solder here or go to Harbor freight and save some money. Its all chinese junk anyway. If you use a damp paper towel or sponge and keep the soldering iron tip clean it will last a fairly long time.
Keep it tinned (heat the tip and run some solder on it before soldering) Cheaper and easier to wear out a cheap iron and replace unless you're going into business. Do NOT tighten up the little screws on the barrel too tight as they hold the heating element in. Do not remove these screws and pull as it will junk the iron. (common mistake) Give the iron lots of time to heat up. It might take it ten or more minutes to come up to temp. This is normal for a low watt iron and you certainly don't need more watts. Too big an iron will burn the insulation off and melt plastic not to mention stink. Speaking of stink, ventilation is good as the fumes are not very healthy to breathe. (just a small fan blowing across you will do the trick)
If you go to Harbor Freight you can pickup a "helping hand" for only four bucks. (11$ at Radio Shack) and also save considerable on the solder and soldering iron.
Here are the URL's
http://www.harborfreight.com/cpi/ctaf/displayitem.taf?Itemnumber=47887
soldering iron 5$
http://www.harborfreight.com/cpi/ctaf/displayitem.taf?Itemnumber=95861
solder 3$
http://www.harborfreight.com/cpi/ctaf/Displayitem.taf?itemnumber=319
Helping Hands 4$
The 273-073 piezo comes suspended in a plastic case as its original purpose is to be a buzzer. Since we want it to pickup the sound from our guitar and send it to our amplifier it needs to come out of the case. I have put together a picture story line to illustrate this. I take a pair of pliers and grasp the ear on one side of the case -squeeze and snap the ear and a piece of case off. You have two ears so two chances to get a good hole in the box to pry the top off with. I insert a pocket knife tip or small screwdriver in and slide it right under the plastic top so it misses the piezo completely - then pry the top up and it will pop right off. Careful the Piezo is suspended in there but its close to the top. Then stick a blunt small screw driver in the hole in the bottom of the case and gently push up. The piezo will pop right out with very light pressure. DO NOT BREAK IT by applying to much pressure. Easy does it. Now you can strip the insulation off the wire back a bit and twist the the strands into a single smooth wire. Insert it in the jack and twist it up tight so there is a half decent mechanical connection black goes to the center ring ground terminal on the jack and red goes to the lug that leads to the tall center pin part. Once twisted up tight plug the iron in and let it heat for ten or fifteen minutes. Tin the tip by melting a small amount of solder on it. Stick the tip in the hole on the jack and wait a few seconds then touch the solder to the tip where it came thru the hole and or to the wire itself. The tip heats up the parts to be soldered and then the solder "runs" up the wire and into the joint. If its done correctly it will all be silvery smooth and fairly quick. If the joint is not hot enough you will get a cold solder connection which is BAD. You do NOT melt the solder and drip it onto the wire or terminal. If the wire and terminal are hot enough the solder wicks up the wire as it melts - nice smooth and strong. Its not necessary to add wire to the ones I have built nor to put any switches in the circuit. I mount mine to the neck as it goes thru the box close to the bridge - I use foam mounting tape that sticks the brass side of the piezo to the neck - I use two pieces side by side to get it wide enough and then cover the top with two more pieces side by side to cover and buffer the piezo. This makes a nice clean installation and its extremely strong. Its also really buzz free. The foam mounting tape is double sided "Duck" brand 3/4 inch by 22 ft and 1.5 inches holds a quarter pound. Mounting the jack to the box typically makes me drill two holes - a larger one half way thru the box then a smaller one all the way thru. I have not had good luck keeping these tight enough yet and intend to use gel super glue liberally on the next installs to see if that will help.
When I get time I will put together another blog to illustrate how to double these piezos up reduce the impedance to closer to what a standard amp wants to see. Basically they are wired in parallel so that each set of leads goes back to the jack - so it would be a pair of reds and a pair of blacks coming back to the jack to use double piezos. Series doubles the impedance and parallel halves it. Parallel has a very desirable reduction in impedance. Another subject worth exploring is shielding the leads by wrapping copper foil around the wires and grounding back to the ground lug. This stuff is a bit tricky and care needs to be taken not to set up any ground loops. I need to take more pictures to correctly illustrate this.
Hope this all helps with any amateur soldering and piezo destructing. Comments and questions welcome - Bill
Piezo in plastic buzzer case also removed from case - brass side and ceramic side shown. This is what we want.
And off pops the top. There is the piezo ceramic side up - brass side down. On the other side is a hole to let the buzzing sound out. Perfect to stick a small dowel or screwdriver in and nudge the piezo up. Gently!!
A gentle push up and there is the edge of the piezo, finger food now.
The prize - a nice piezo transducer with leads factory soldered on . notice the red positive goes to the ceramic and the black ground goes to the brass base ring
Jack with leads from piezo soldered on . The black goes to the center ring - these solder joints are too large and would make an electronics tech sneer but they are well done and solid connections if not pretty. You can do this well with a minimum of practice. It works!
Did not know I could blog here. So until I figure something out, check this out!
http://doinsomething.blogspot.com/
Watch my builds here. Don't update every day but when I do it's fun!
TIGGER!!!
ZWY3ZWM3NGIt