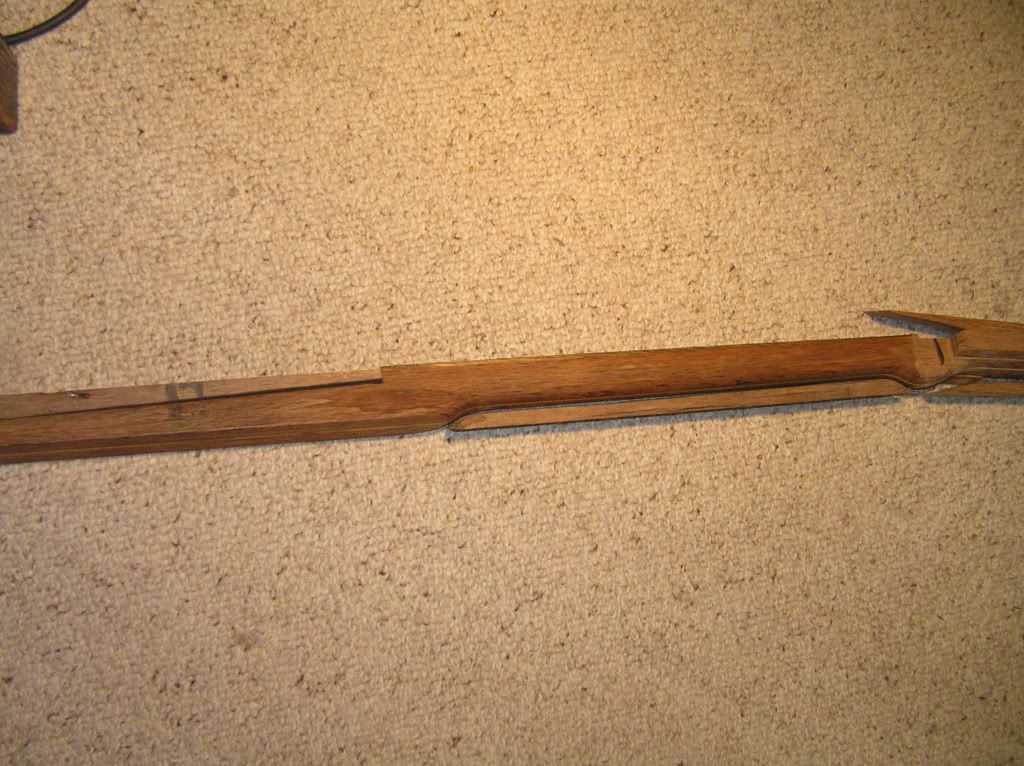
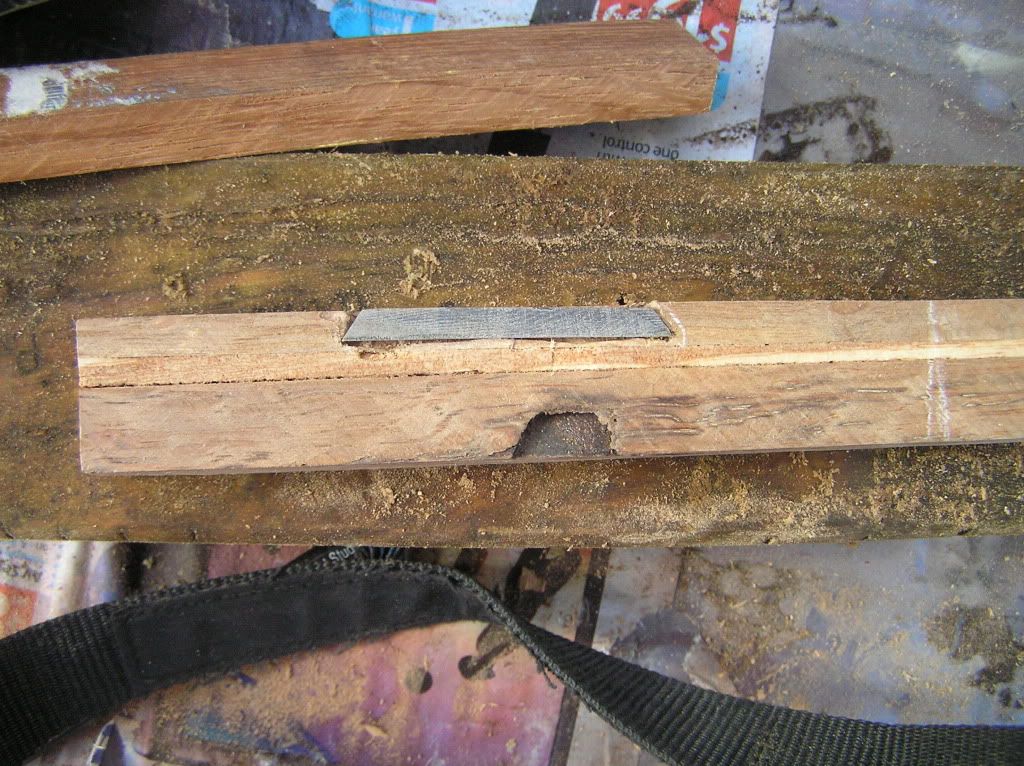
3.. So i chisel out a slot for the saddle so it can be recessed to its full depth inside the wood
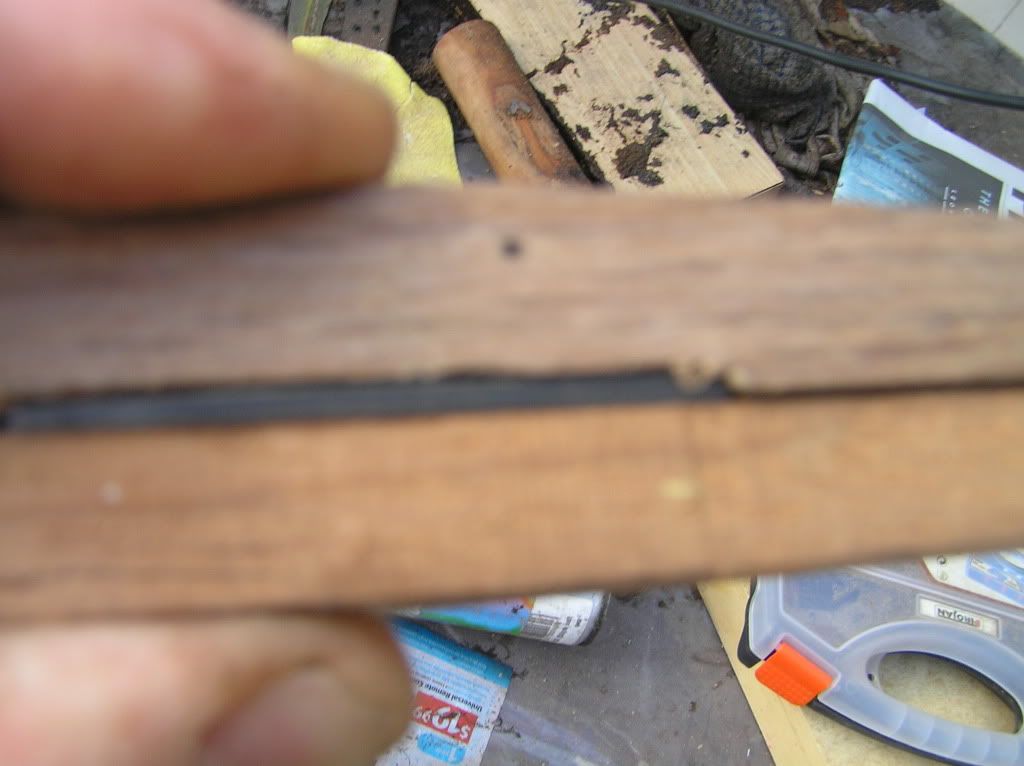
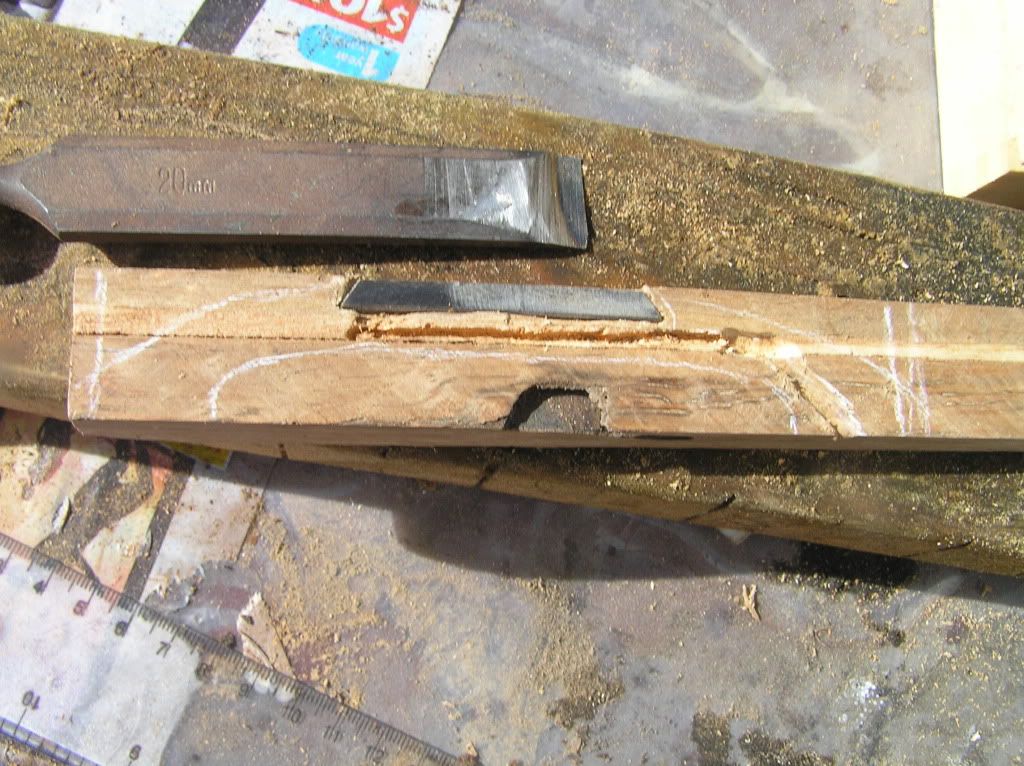
4. ok, so around the saddle i measure and mark out my rough bridge outline, then i cut out a slot under for the piezo, and a way out for the cable thru one of the bridges legs. I prefer to go down the leg on the treble (floor) side, bcos i think its a little easier to work out where to drill the hole in the box lid
5. i cut a piezo disc into a couple of thin strips and solder the cable to them. I do em in parallel, so I piggyback one onto the back of the other, black to black and red to red..

6.. i cut the other half of the plank off, pop it on top, and copy my rough outline onto there
(I flip it over, like closing a book, so the two square sides are the join, and the outsides are the rough, bandsawn edges..)

7.. i cut a small 2" length of gardening irragation hose, its probly about 8mm hose.. I put this to cover the cables for two reasons; it makes it much easier if u need to shave a few mm off the feet, protecting the cables, and it also provides some protection for the cables from ur box or tin lid later when u poke it thru..
I open it out again, spread and and fill all the cavities right up with 5 minute epoxy, then i push it all together again and clamp it tight.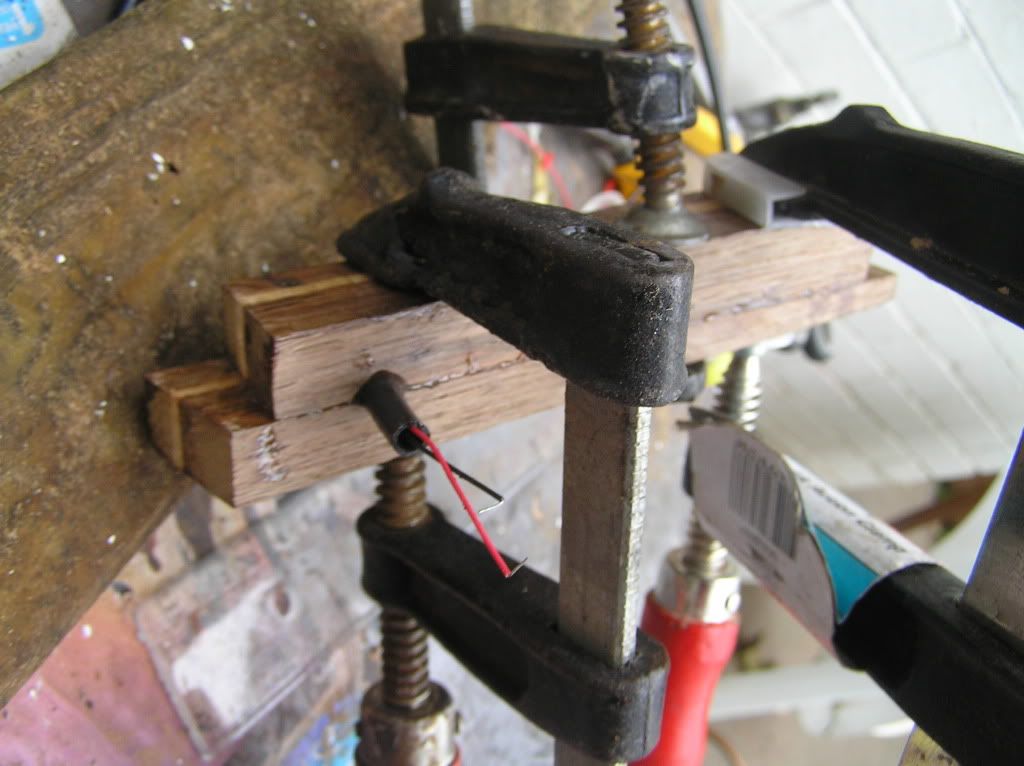
now this is (what i think) is the really clever part... the angle we started with on this bit of scrap compounds on itself, making a scarf joint !! yep, we have a new square edge, and now the saddle is set in on a bit of an angle.. its not exactly the angle we want of course, so the bridge wont go in exactly square, but its close..
8.. 3 or so hours later, when Im comfortable to pull it out of the clamps, first thing i'll do is hit the linisher and find my saddle on the top

9. then i'll start rounding over the top, note because of the diagonal position of the saddle this is kind of an elliptical motion im rounding it to (so two of the corners get rounded off more than the other two and the end result is a regular rectangular bridge, but with its feet twisted to something of an angle..)

which may be easier to understand from this next pic..

10. the linisher wont handle the inside edges of course, so eventually we gotta pull out the pretend spindle sander and go to work on the inside. A bandsaw would really help here, but i only have a little toy one; I only use it for bone and little jobs, and i only have access to the big ones on wednesdays and Thursdays at my wood club

11. after another 5 or 6 minutes i need a smaller one....

here u can see i use the little drum sander to 'walk' the saddle out a little..
(i dont actually do it one handed of course, the other is holding the camera here.. )
12. then theres maybe half hour of sanding by hand, i spend most of my time on 60 grit, then just a few minutes each on 100, 240, 600, and 1200

13.. I sure like that Tung oil stuff eh ??


Well, thanks for having a look & I hope its of some use to you, please put a pic up or give me feedback if u try it..
Another idea i want to try on it soon is a metal saddle (or a laminated saddle of more than one component, one of which is a metal) with a wire to its underside for earthing a mag pup to easily..
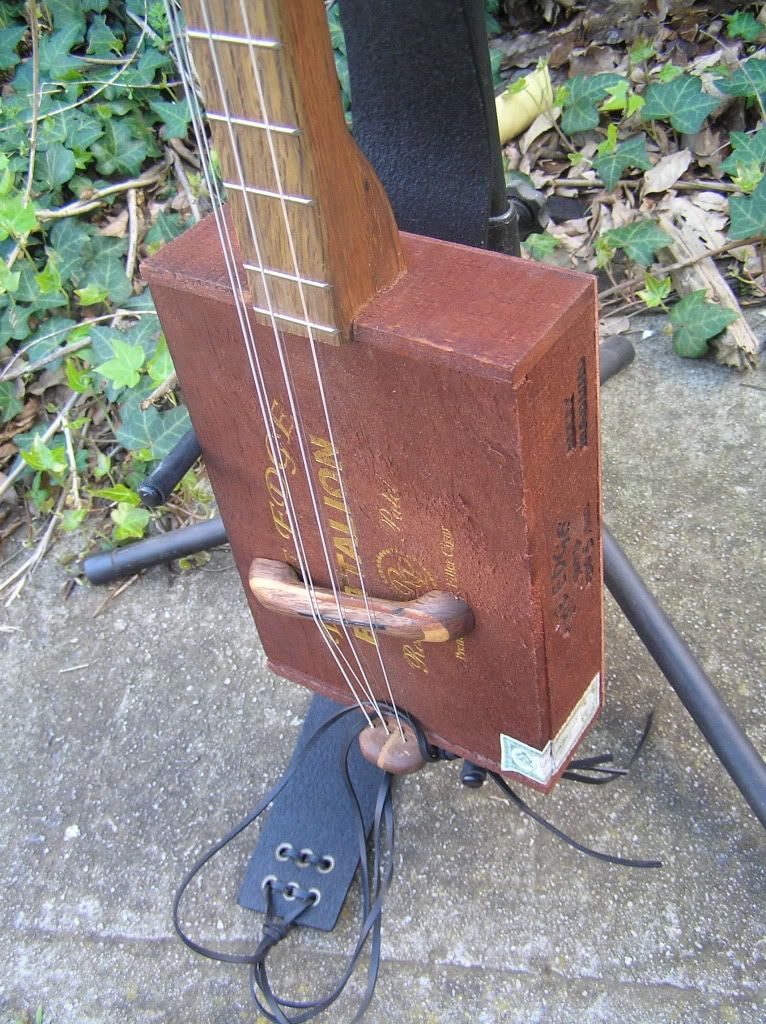
Comments
Guitars, like any lute have pretty much always been built with a decent neck angle....
Until they got to the America's:..., Leo fender pretty much invented the zero neck pitch guitar as far as I'm concerned, although c f Martin certainly came close
Question on your necks. I'm finding my bridges are too short and think I may get better vibration from a bigger one. I've been thinking and looking at necks that are tapered in the box to create a neck that leans back and gives me a taller bridge. Is my thinking going in the right direction here? What do you think?